|
|
|
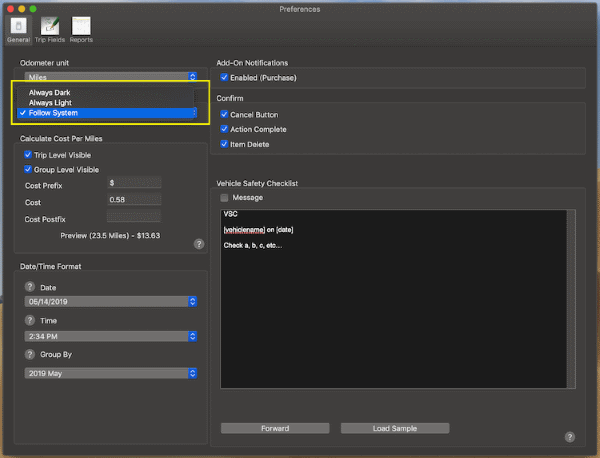
The Dark Mode theme is available in macOS Mojave 10.14 and newer. In this app you have 3 options:
- Always Dark: applies the dark theme to the app even if macOS is set to the light theme
- Always Light: applies the light theme to the app even if macOS is set to the dark theme
- Follow System: follows the theme set by macOS (default setting)
To update theme used by the app:
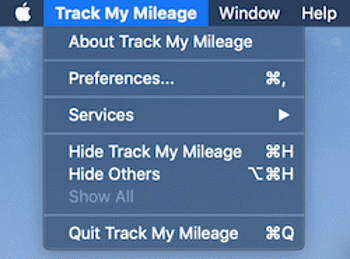
- Access the preferences pane.
Keyboard shortcut: Command key (it has a ⌘ symbol) and then the ","
- Click the General tab then select from the popup list in the Dark Mode section.
|
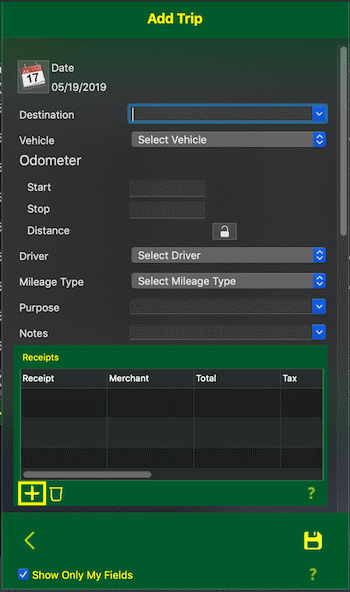
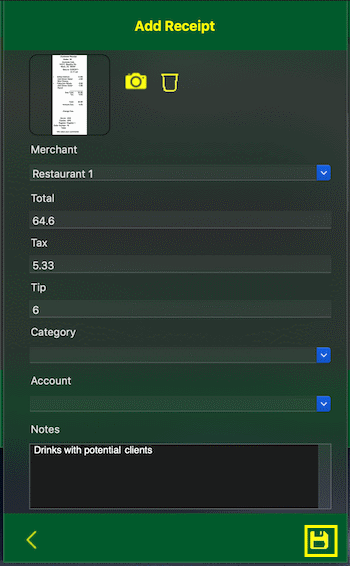
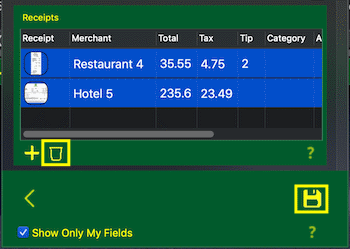
- While adding or updating a trip, scroll down to the "Receipts" section
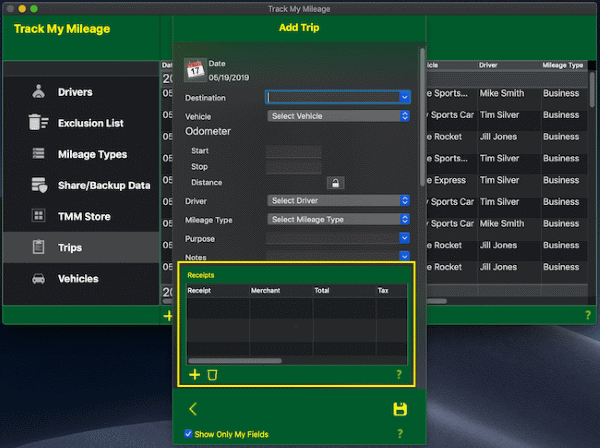
- If you want to add a receipt:
- Click the
 button at the bottom of the list. button at the bottom of the list.
- After entering the details, click the
 button to commit your changes or click the Cancel button to lose any changes. NOTE: The Receipt Image is required! button to commit your changes or click the Cancel button to lose any changes. NOTE: The Receipt Image is required!
- If you want to update a receipt:
- Double click the receipt you want to update.
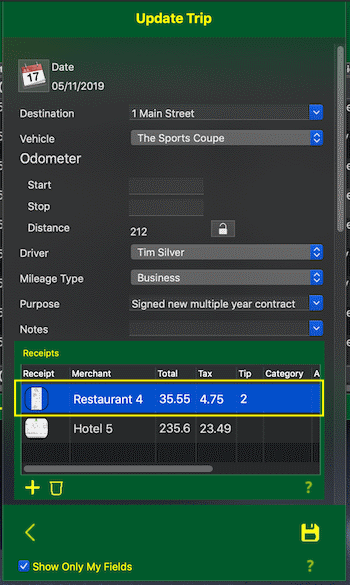
- The Update Receipt page will then load with the details for that receipt, after updating the details, click the button to commit your changes or click the Cancel button to lose any changes. NOTE: The Receipt Image is required!

- If you want to delete receipt(s):
- Hold down the Command key and single-click on multiple items.
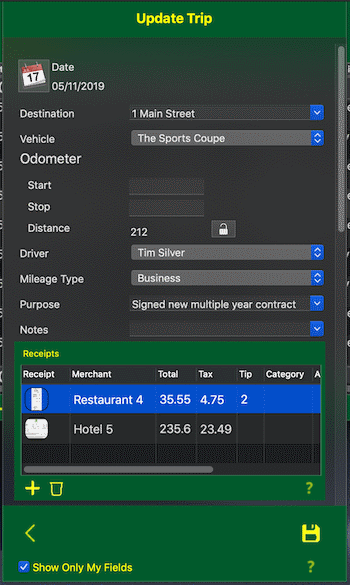
or
The Shift key lets you select a group of items that are contiguous, or next to each other in the list. Single-click on the first item you want to select in a list. Then hold down the Shift key and click on the last item you want in the list. Everything between the two clicks will be selected.
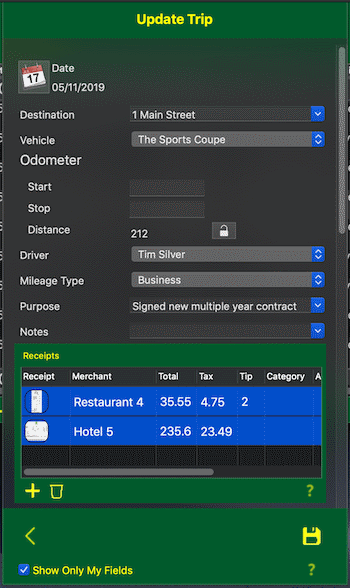
- To complete deleting the selected rows, click the
 button at the bottom of the list, then save the trip. button at the bottom of the list, then save the trip.
- When you export your trips, all receipts for those trips will be included in a single yet separate file from the report of your trips.
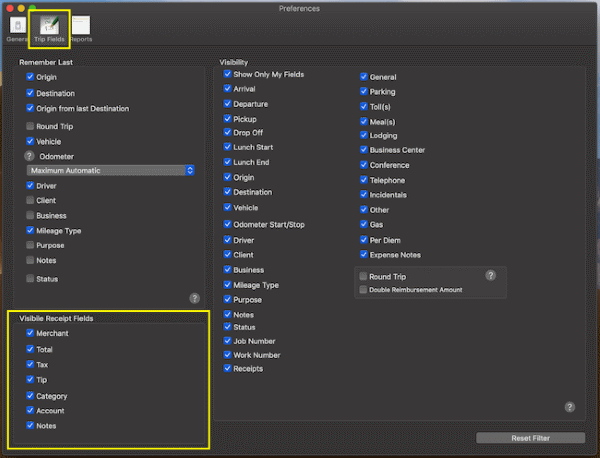
- To hide the receipt fields you don't use:
- Access the preferences pane.
Keyboard shortcut: Command key (it has a ⌘ symbol) and then the ","
- Click the Trip Fields tab and in the Receipt Field Visibility section for the fields you use, check the checkbox next to it. For the fields you don't use uncheck the checkbox next to it.
|
|
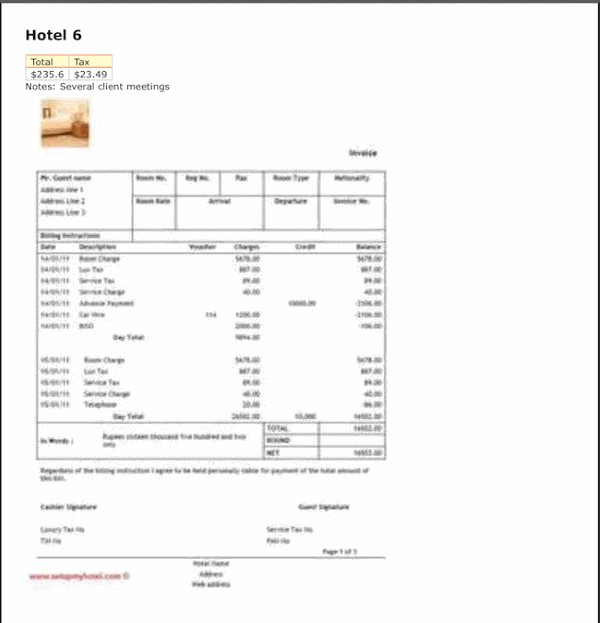
The taking of pictures of receipts and add them to a trip is a feature that can be added by following these steps:
- Access the TMM Store (click here to learn how)
- Scroll down to the "Single Items" section and click on the "Add Basic Receipt Tracking" row but if you want to see any discounted bundles that include this add-on then:
- Click the
 button in the lower left corner to open the store assistant popup button in the lower left corner to open the store assistant popup
- Then scroll down to and click the Basic Receipt Tracking row
- Next click the TMM Store window to close the assistant and return to the filtered store listing
- Finally click the add-on you are interested in from the bundles or single items section
- Details about the purchase along with screenshots will be provided on the right side of the screen. When you are ready to purchase, click the buy button in the upper right corner of the screen and follow the In-App purchase instruction provided by Apple to complete the purchase.

|
|
Excluding any cloud services which require an active subscription, you can now purchase all one time purchase add-ons by following these steps:
- Access the TMM Store (click here to learn how)
- Scroll down to the "Bundles" section and click on the "Ultimate" row.
- Details about the purchase along with screenshots will be provided on the right side of the screen. When you are ready to purchase, click the buy button in the upper right corner of the screen and follow the In-App purchase instruction provided by Apple to complete the purchase.
|