|
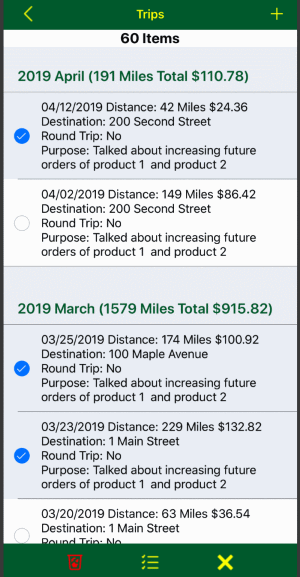
From the Trips page:
- Tap the
 button on the toolbar at the bottom. button on the toolbar at the bottom.

- Then tap the rows you want to delete or select all rows by tapping the
 button. To complete deleting the selected rows, tap the button. To complete deleting the selected rows, tap the  button. To cancel deleting, tap the button. To cancel deleting, tap the  button. button.
|
|
From the Trips page:
- Tap the
 button on the toolbar at the bottom. button on the toolbar at the bottom.

- Next on the Export Options screen you have these options:
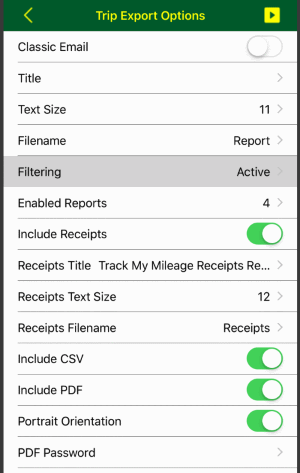
- Classic Email: this option disables the share sheet and goes directly to email. If you setup a predefined email list then classic email is the only way to continue using the list.
- Title: the title will be included in the report and will also be the subject of the email message
- Text Size: this option allows you to make the text larger or smaller in the exported report, this does not affect the text size in the CSV file.
- Filename: the name of the output file
- Filtering (Active/None): Active means the list trips are being filtered. None means the list trips is NOT being filtered. The current filter can be updated by tapping this row.
- Enabled Reports: the count of enabled formatted reports
- Include Receipts: includes the receipts report
- Receipts Title: the title will be included in the receipts report
- Receipts Text Size: this option allows you to make the text larger or smaller in the exported receipts report, this does not affect the text size in the CSV file.
- Receipts Filename: the name of the receipts report file
- Include CSV: includes tabular summary in a CSV file
- Include PDF: includes PDF files (if enabled)
- Portrait Orientation: determines if the PDF is generated in portrait or landscape orientation
- PDF Password: add an extra layer of security by password protecting the all PDF files.
Passwords can only be added to the PDF files; all other file will not required a password to open. If you need to secure your output then you should turn off the include csv option because the csv will not require a password to open.
- Next tap the
 button in the upper right corner button in the upper right corner

- Finally, choose the option to export the report with:
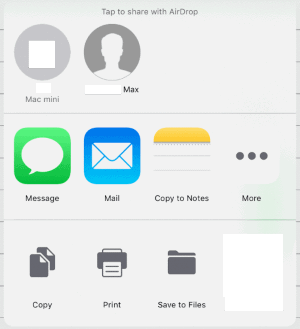
With AirDrop, you can wirelessly send your reports to a nearby iPhone, iPad, iPod touch, or Mac.
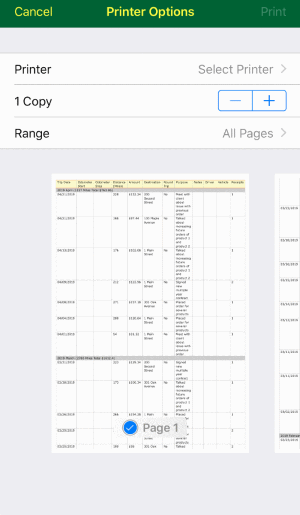
With AirPrint, it's easy to print your reports from your Mac, iPhone, iPad, or iPod touch without having to install additional software. AirPrint is built into most popular printer models.
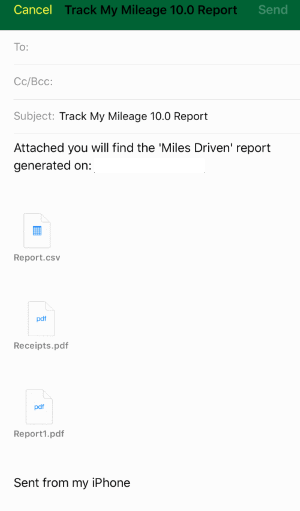
Or use e-mail to forward your reports.
|
|
Starting macOS Catalina, you can use the Finder to Backup/Restore your data between your iOS and iPadOS devices and your Mac.
If you're using macOS Mojave or earlier or a Windows PC, use iTunes to Backup/Restore your data. (tap here to learn how)
To backup your data:
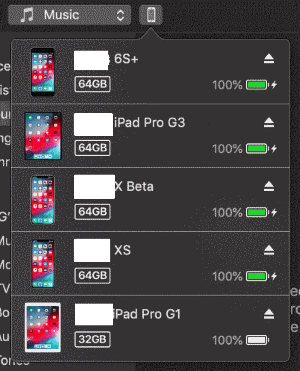
- Connect your device to your Mac/PC
- Once iTunes recognizes your device, select the device from the list.
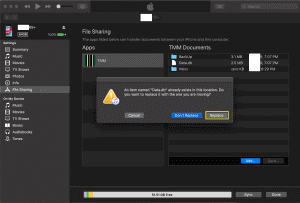
- Next click “File Sharing”, then in “Apps” section, select “TTM”. In the "TMM Documents" list select all files then press the "Save to.." button to save the files to your computer.

To restore your data:
- Connect your device to your Mac/PC
- Once iTunes recognizes your device, select the device from the list.
- Next click “File Sharing”, then in “Apps” section, select “TTM”. Now press the "Add.." button then select all the files your previously backed up to your computer so they can be copied back to the device
- If prompted, choose to replace the file on your device with the file on your computer.
|
|
If you're using macOS Catalina or newer, use the Finder to access the backed up reports. (tap here to learn how)
- Connect your device to your Mac/PC
- Once iTunes recognizes your device, select the device from the list
- Next click the "Apps" tab and scroll down until you see "File Sharing"
- Select the "TTM" from the "Apps" list
- In the "TMM Documents" list select all files with a CSV, HTML or PDF extension
- Then press the "Save to.." button to save it to your computer
|
|
You can copy details from an existing trip to a new trip by following these steps from the Trips page:
- Tap the
 button on the toolbar at the bottom. button on the toolbar at the bottom.

- Then tap the
 button to the left of the trip you want to copy. button to the left of the trip you want to copy.

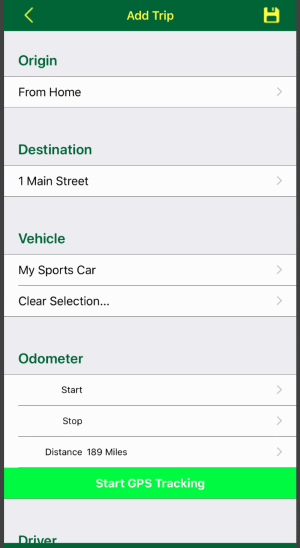
- Next the Add Trip page will load with the Origin, Destination, Round Trip, Vehicle, Odometer Distance, Driver, Client, Business, Mileage Type, Purpose, Notes, Status, Job Number and Work Number pre-filled. You can then make any edits after which tap the
 button to commit your changes or tap the button to commit your changes or tap the  button to lose any changes. button to lose any changes.

|